

You can solder a ring confidently, yet struggle when a thin bezel meets a heavy backing plate. You can follow a setting tutorial, yet feel unsure when the next stone has a different profile. You finish projects, but the same correction keeps appearing near the end.
These experiences are useful information about your development. Intermediate skill rarely grows evenly. A skill map helps you see the specific abilities inside the broad statement that you know how to make jewelry.
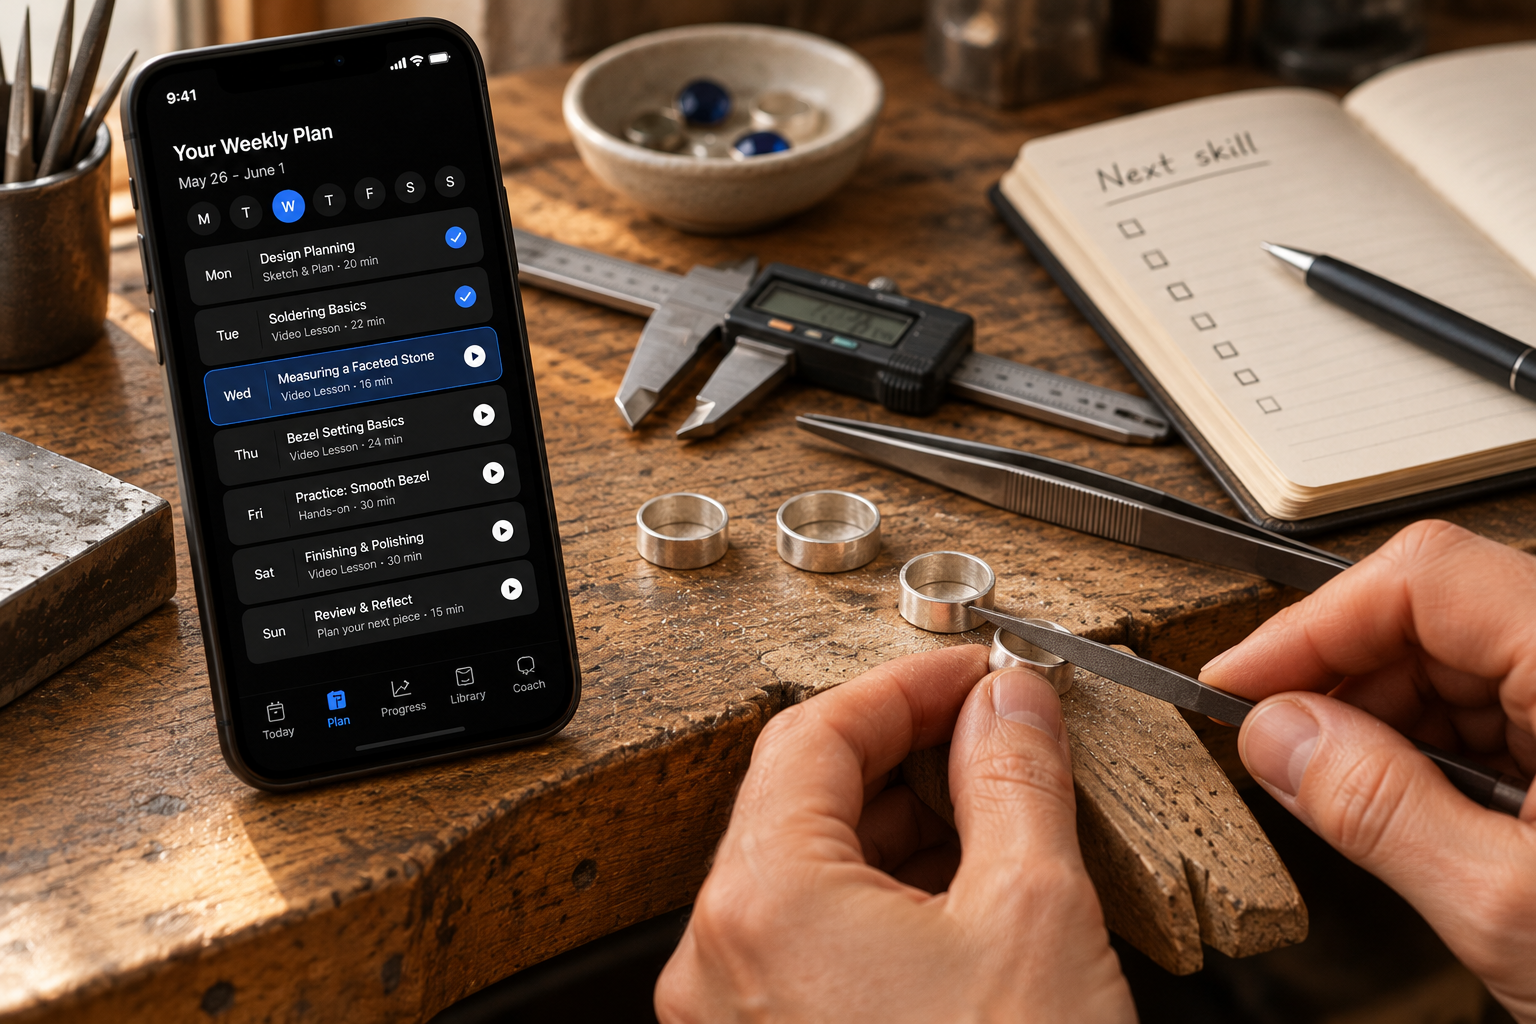
Explore how Metalsmith Mentor™ can help you develop your skills.
Map what you can demonstrate
Start with seven areas: fabrication, soldering, forming, stone setting, surface and finishing, design, and troubleshooting. Under each, list a few actions you can actually observe.
For fabrication, include cutting to a line, filing mating surfaces, and keeping dimensions through assembly. For soldering, include preparing a joint, planning heat for unequal masses, and recognizing flow. For forming, include managing springback, annealing at an appropriate stage, and checking symmetry.
Stone setting might include assessing the stone, establishing support, controlling seat depth, and moving retaining metal without damaging the gem. Finishing includes removing scratches in sequence and preserving edges. Design includes proportion, construction choices, and intended wear. Troubleshooting includes describing evidence and testing a likely cause.
Make the list relevant to the jewelry you want to create. An elaborate technique outside your interests does not need to become your next assignment.
Use evidence instead of a confidence score
Give each listed action one of three descriptions: dependable in familiar work, developing under changed conditions, or needs guided practice.
Then attach an example. Dependable might mean that your last three comparable seams fitted cleanly before soldering. Developing might mean that you can achieve the result, but only after repeated correction when the thickness changes. Needs guided practice might mean that you cannot yet identify a safe starting point.
A photograph, measurement, or short bench note makes the description more useful. Confidence can vary with your mood; a record of what happened gives you something concrete to compare.
Do not combine everything into one overall grade. Strong finishing cannot compensate for an unstable setting, and confident design does not establish that a join is structurally sound.
Find the skill that interrupts your work
Choose one strong area, one fragile area, and one next-step skill. A fragile area is one where a small change in conditions makes the process unreliable.
Suppose your sawing is dependable, but your solder seams require heavy cleanup. The next step may be improving fit rather than learning a more elaborate soldering project. A seam with consistent contact gives you a clearer view of what your heating method is doing.
Ask which difficulty causes the most rework in the pieces you already make. Then ask what ability that difficulty depends on. If a stone rocks, check the support and fit before deciding that you need more strength with a setting tool.
This keeps your practice connected to a real limitation instead of the most exciting technique in your feed.
Turn the next step into a small practice plan
Define the task narrowly enough to repeat. Instead of practice soldering, choose prepare and solder three comparable butt joints without an open section of seam. Instead of improve finishing, choose remove one starting scratch pattern while preserving a marked edge.
Use suitable scrap and a consistent setup. Decide what you will inspect before starting, then keep a brief record after each attempt. Change one meaningful variable when the result gives you a reason to do so.
Plan practice that fits the time you actually have. A focused half hour with observations can produce more useful learning than a complicated project that leaves no time to examine the result.
When a task remains unsafe or unclear, seek guidance. Independent judgment includes recognizing when you need a demonstration or a second set of eyes.
If you’re not comfortable deciding this on your own, I created the Metalsmith Mentor app to help guide you through your learning and development process! You’re not alone at the bench.
Read more about Metalsmith Mentor™Review the map through your next project
After the practice session, use the skill in a piece you want to make. Notice whether the improvement carries across and what changed about the conditions. Update your map with that evidence.
The map is a working record, not a permanent label. It should help you choose a manageable next action and recognize progress that might otherwise disappear into a finished project.
Use the practice and reference resources in My Bench to support your next step. Leave a comment with your three choices: one strong area, one fragile area, and the specific skill you plan to develop next.