

The solder has turned into a ball. One side of the seam looks joined, while the other is still open. Your first impulse may be to flux again and keep heating.
Pause before the next attempt. A failed solder joint leaves evidence, and that evidence can help you decide what to check. The same visible symptom can have several causes, so the useful question is not simply what went wrong. It is what observation will narrow the possibilities.
Read the joint before changing it
Let the piece cool appropriately for the assembly. Photograph the solder, the seam, and any distortion before cleaning. Then clean the joint using a method suitable for its materials so you can examine the actual surfaces.
Write a literal description: solder remained rounded, the gap opened near one end, or the thin edge lost its shape. Avoid turning the observation into a conclusion too soon. A dark surface, for example, does not by itself prove that insufficient flux caused the failure.
Jewelry soldering depends on clean, closely fitted surfaces and adequate heat in the metal being joined. Rio Grande's introductory guidance emphasizes heating the silver assembly rather than concentrating the flame only on the solder. Use those requirements to organize your checks.
When the solder stays in a ball
A rounded solder pellet suggests that it has not wetted and spread across the intended joint. Possible causes include contaminated surfaces, inadequate flux protection, or surrounding metal that has not reached the required temperature.
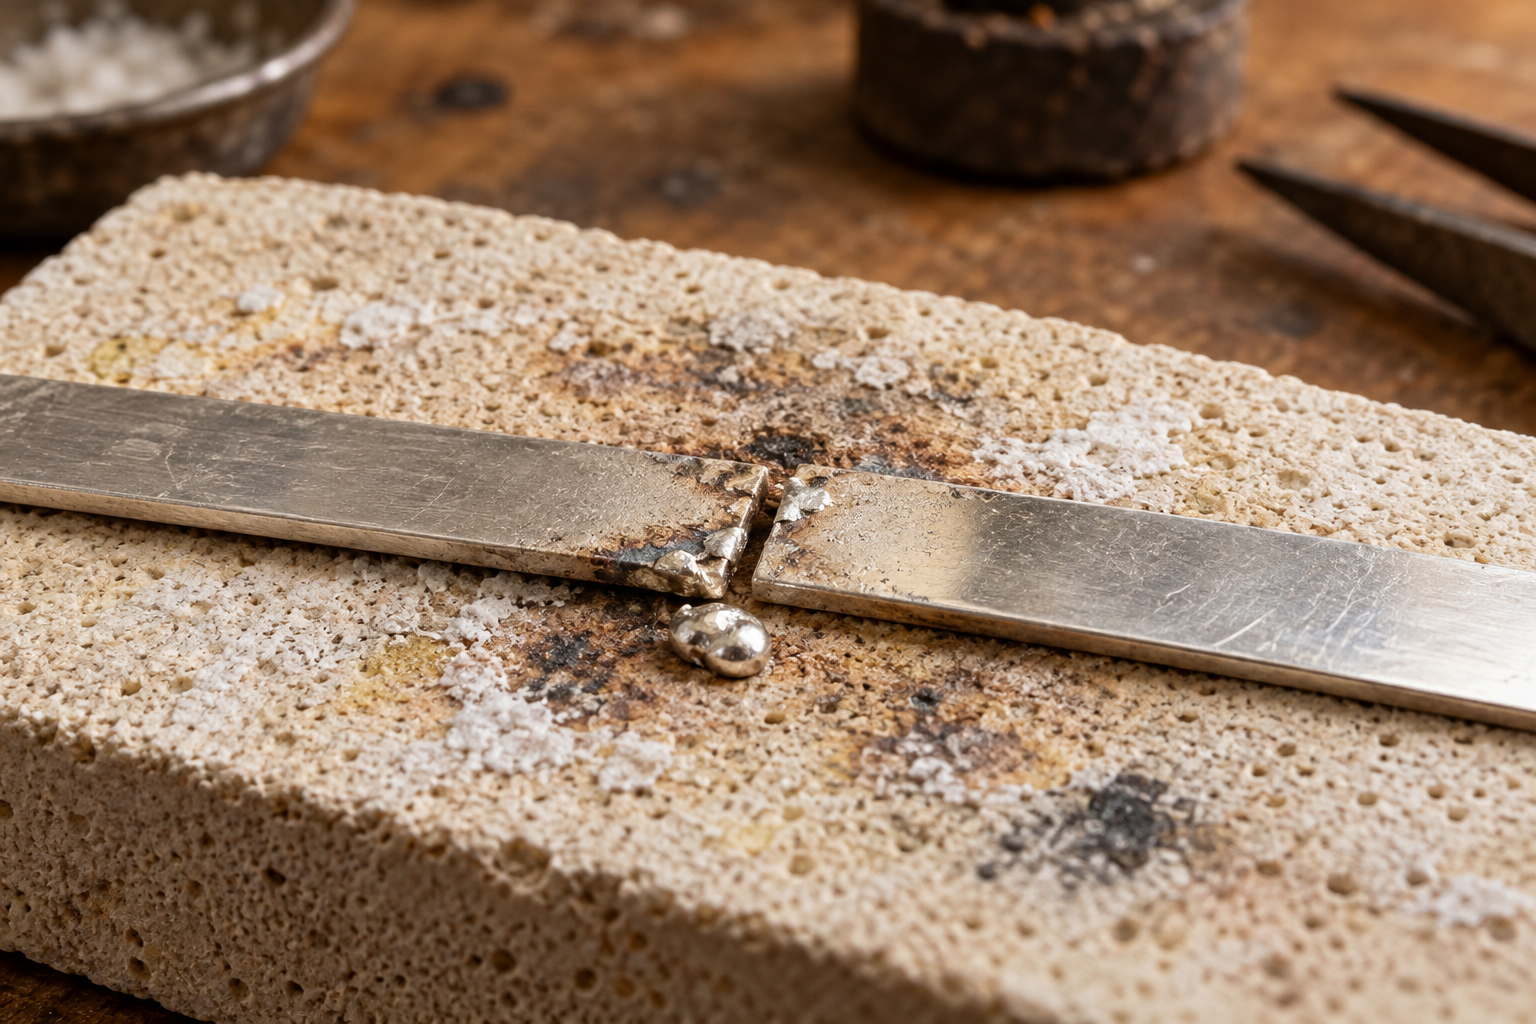
First inspect contact. Is the solder touching both sides of the seam? Is the seam still closed? Clean the mating surfaces and confirm that the solder and flux are appropriate for the metal.
For a useful heat test, make a small practice joint using the same material and comparable thickness. Observe the metal around the seam as you heat. A pellet melting under direct flame does not establish that both components are ready to join.
When solder flows onto only one side
One-sided flow can point toward an uneven thermal condition, a cleanliness difference, or poor contact at the other surface. A large backing plate and a thin decorative element do not necessarily reach soldering temperature together.
Check the unjoined surface first. Is it clean? Does it actually meet the other component? Does a clamp pull it away as the assembly warms?
Then reconsider the heat path. Give the larger mass the attention it needs while protecting the smaller part from local overheating. Change positioning or support on a practice sample if necessary. Adding solder cannot correct a surface that never becomes properly wetted.
When the gap opens or the edge melts
A seam that opens during heating may reflect spring tension, insufficient support, or movement as the metal expands. Check the fit cold and without forcing the parts together. If the fixture alone holds an unwilling seam shut, improve the fit before another attempt.
Melted edges and collapsed components call for a different response. Stop and assess the remaining structure. The issue may be concentrated heat on a thin area while a heavier component remains cooler. More heating may destroy the part you are trying to save.
Decide whether the damaged metal can be removed while preserving adequate thickness and the intended dimensions. If it cannot, replace the component. A repair that leaves an essential wall too thin is not a successful recovery.
Make the next attempt answer a question
Choose one primary possibility and one test. For example: I suspect the backing plate stayed too cool, so I will test a different heating sequence on a comparable scrap assembly. Keep the alloy, solder, fit, and joint arrangement as consistent as possible.
Before returning to the piece, restore clean surfaces, close contact, appropriate flux, and stable support. Record what changed and whether the result supports your explanation.
Stop if the assembly keeps deforming, the joint cannot be cleaned adequately, or a stone or unknown component makes the heating plan uncertain. Reassess the construction before applying more flame.
Visit My Bench for soldering and troubleshooting resources, and leave a comment: what did your most recent failed joint actually show you before you tried again?