

Why Your Solder Joint Failed Even Though the Solder Flowed
There is a particularly frustrating moment at the metalsmithing bench.
You heat the piece.
The solder melts.
You watch that beautiful silver flash travel through the seam.
You pickle everything, rinse it, bring it back to the bench and think:
Perfect.
Then you start filing. And the joint opens. Or you apply pressure and the seam separates. Or worse, the piece survives fabrication and fails later. It feels completely unfair because you saw the solder flow.
But here is one of the most important distinctions I teach metalsmiths:
Solder flowing and a successful solder joint are not the same thing.
Once you understand that, troubleshooting becomes much easier.
Solder cannot repair bad fit
The first place I look when a solder joint fails is not the solder. I look at the seam. How well did the two surfaces actually meet before the torch ever came on?
Jewelry solder works best when the metal surfaces are very close together. The solder is drawn into that narrow space through capillary action.
It is not supposed to behave like caulk filling a construction gap. This is particularly important with ring shanks, bezels, tubing and structural joints. If you can clearly see daylight through the seam before soldering, that is useful information.
Your next step probably isn't adding more solder. Your next step is improving the fit.
More solder isn't necessarily stronger
This is one of those bench lessons that seems backwards when you're learning. If a little solder makes a joint strong, surely more solder makes it stronger. Not necessarily.
When I see large blobs of solder sitting around a failed seam, I start looking for the actual underlying problem.
Did the joint fit?
Were both surfaces clean?
Did both pieces reach soldering temperature?
Was the solder being asked to bridge a gap?
Was the flame concentrated on the solder instead of heating the metal?
Adding another chip of solder often disguises those questions rather than solving them. A well-prepared joint may require surprisingly little solder.
Watch the metal, not the solder
Beginning metalsmiths understandably stare at the solder. I would rather have you watch the entire joint.
Solder melts because it reaches its melting temperature. But that doesn't automatically mean the surrounding metal is at the correct temperature to receive it.
You can melt solder directly with a torch flame and create a beautiful little molten ball that goes absolutely nowhere useful.
That is why torch control matters so much.
Your job isn't really to melt the solder. Your job is to bring the metal to the temperature at which the solder can flow through the joint.
That small change in thinking dramatically changes the way you use a torch.
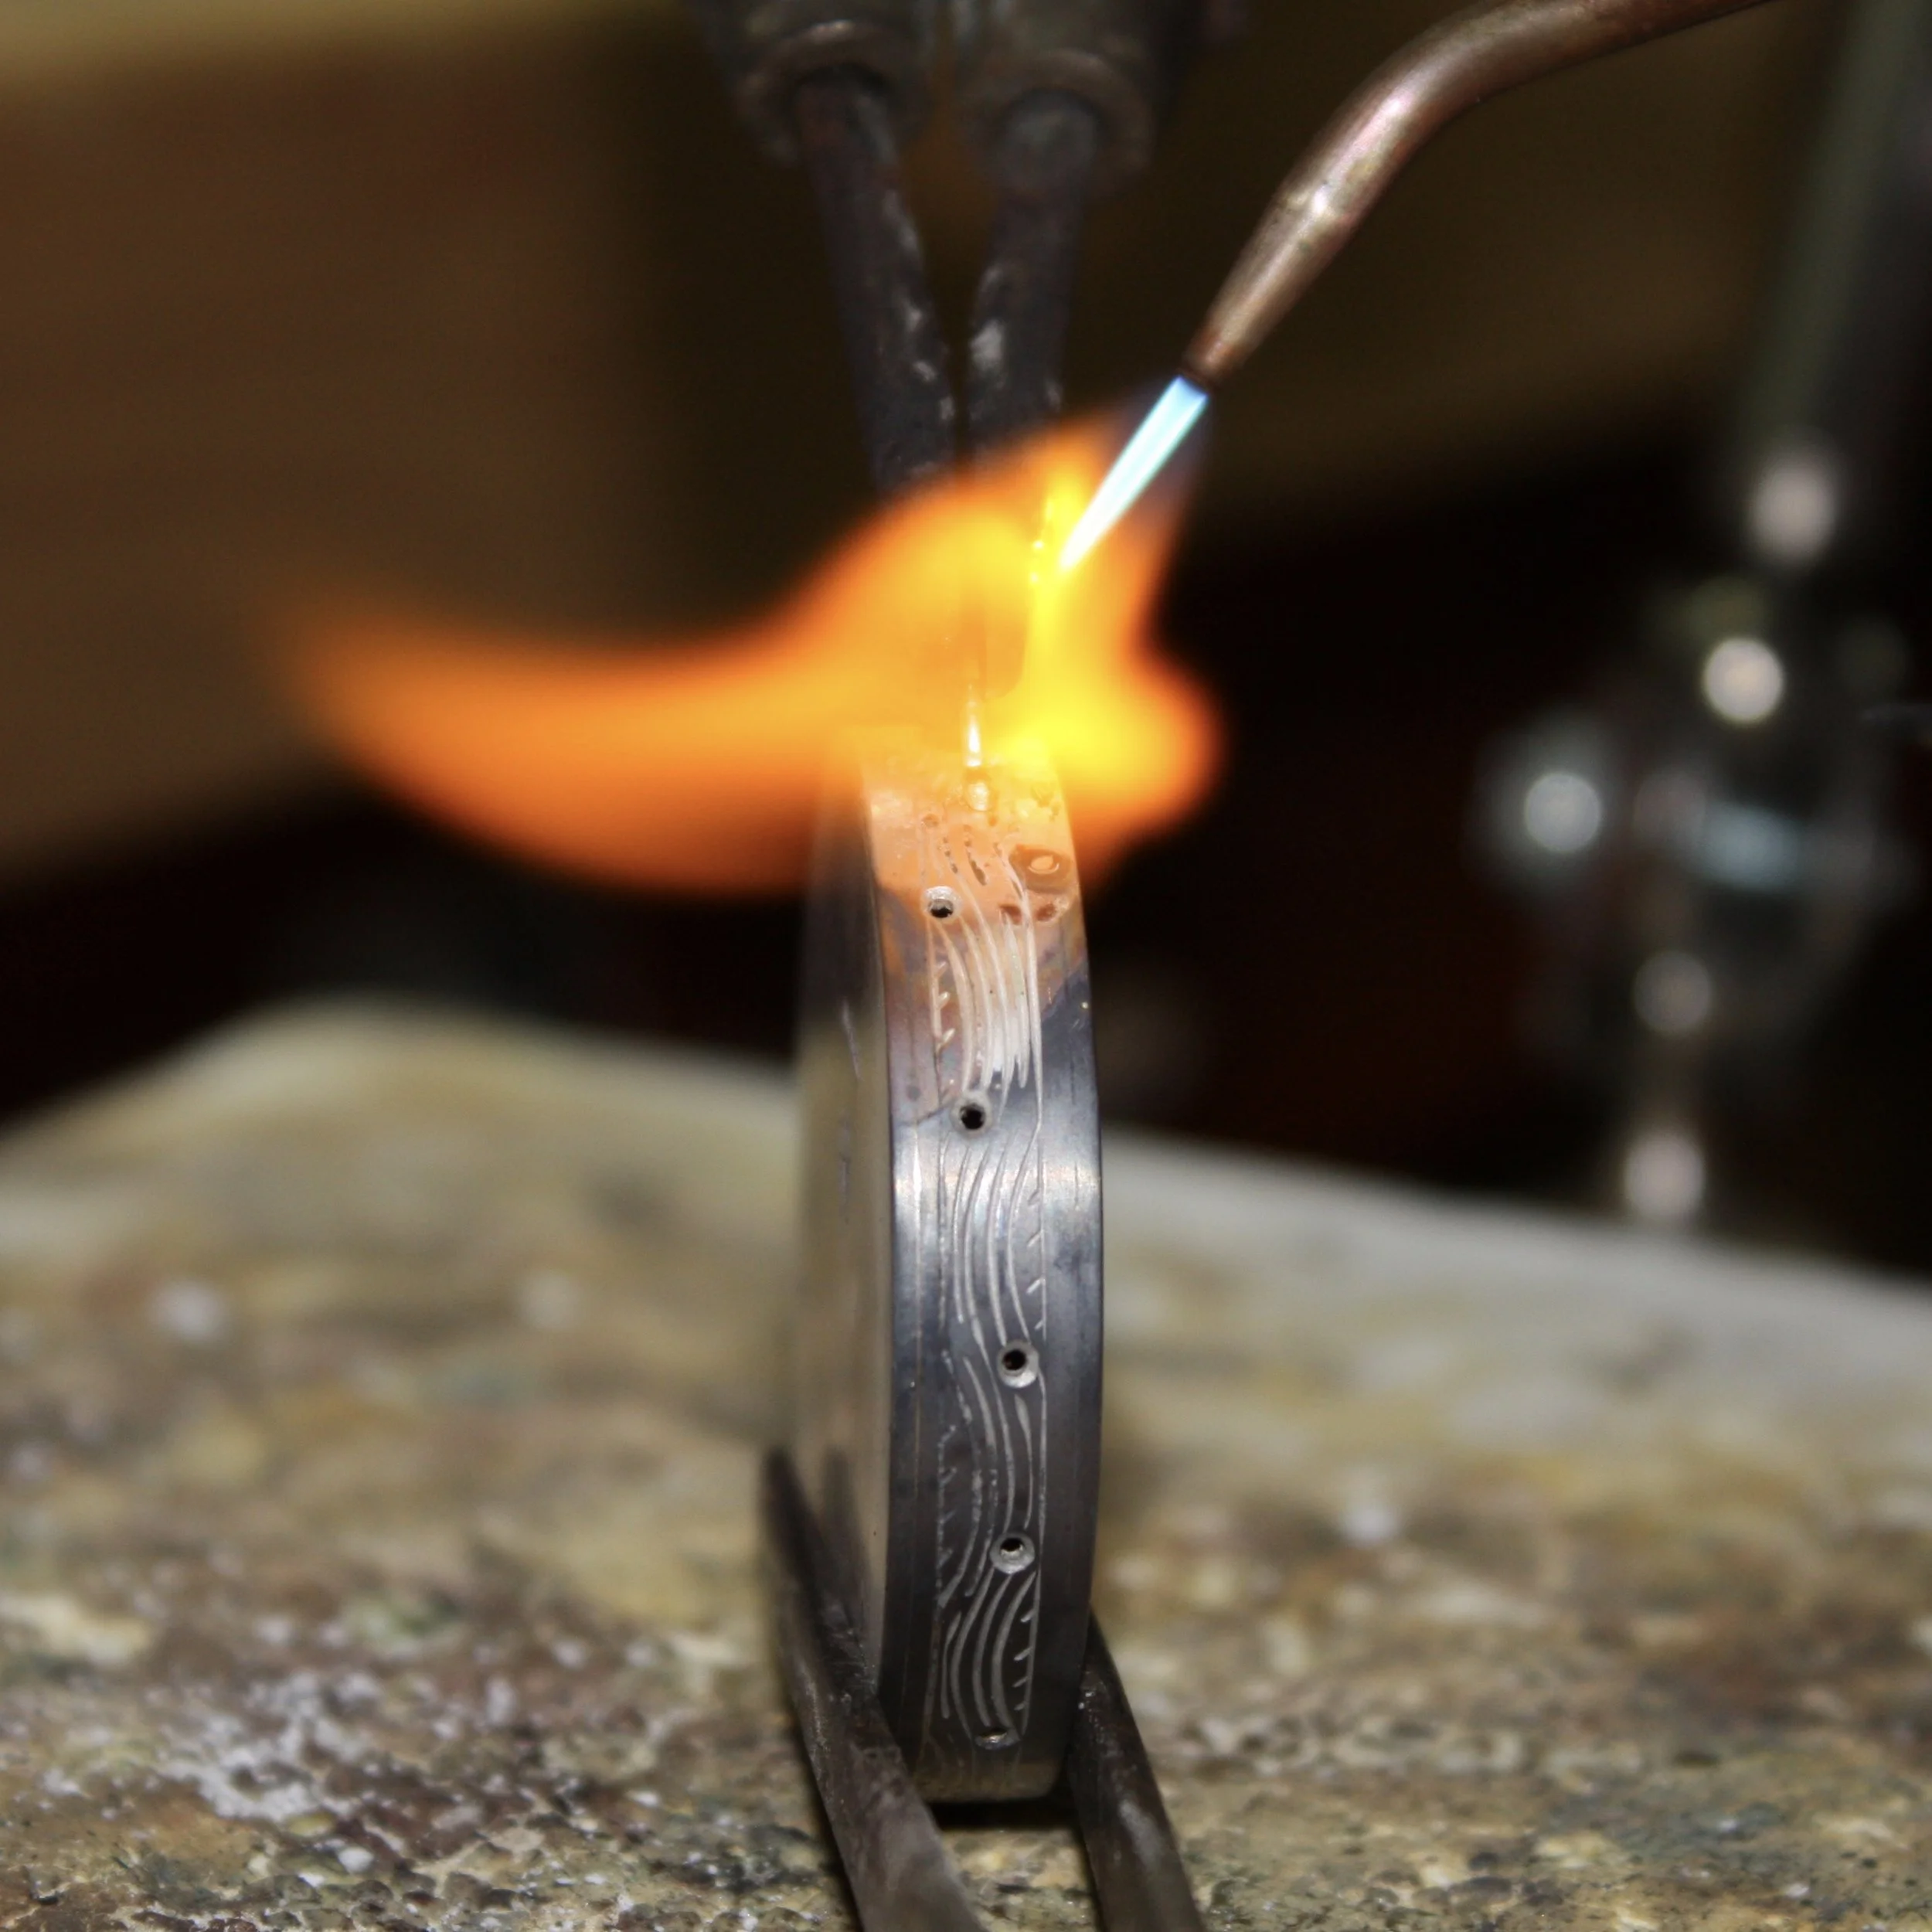
Jeweler heating a textured silver ring with a torch flame at the bench, showing the metal glowing orange during the soldering process.
Heat balance is often the hidden problem
Imagine soldering a heavy piece of sheet to a thin bezel wall. The two pieces do not heat at the same rate.
If you move the torch evenly between them simply because you want to be “even,” the thin piece may become dangerously hot before the heavier piece reaches soldering temperature.
Equal torch time does not necessarily create equal heat. You have to heat according to the mass of the metal.
Give the larger mass more energy. Allow the smaller component to come along more gradually. Then bring the entire joint into the soldering range together.
This is one of the reasons soldering begins to feel much easier after enough bench experience. Eventually you stop thinking of the flame as something you point at a joint and start thinking about where heat is moving through the whole object.
Clean enough isn't always clean enough
Solder is wonderfully unforgiving about contamination. Oil from your fingers, polishing compound, oxidation, marker residue, old flux and grime can all interfere with a joint. And after something has gone wrong once, the surface conditions may be completely different from what they were during the first attempt.
This is why repeatedly reheating a failed joint without cleaning and reassessing it can make the situation worse.
When soldering fails, I frequently return to the beginning:
Clean it.
Inspect it.
Refit it.
Reflux it.
Then solder again.
Troubleshooting often means resisting the urge to immediately relight the torch.
The joint may have moved
This one can be maddening. You created a beautiful fit. You positioned everything perfectly. Then heating began and one component shifted.
Metal expands as it heats. Flux bubbles. Binding wire can move. A tiny component may even float as the solder liquefies.
The joint that existed when you placed the piece on the soldering block may not be the joint that existed when the solder actually flowed.
That's why setup deserves far more attention than most beginners give it. A stable soldering setup is part of the fabrication process.
Learn to diagnose instead of retry
If there is one habit I would like more metalsmiths to develop, it is this:
When something goes wrong, don't immediately repeat the same process.
Stop.
Look.
Ask what the failure is telling you.
Where exactly did the joint separate?
Is solder visible on both surfaces?
Did it flow through the seam or merely along the outside?
Was there a gap?
Did one component become hotter than the other?
Did the seam move?
Was there contamination?
Those questions turn frustration into information.
And that is the real transition from simply knowing how to solder to understanding soldering. The goal isn't to reach a point where soldering never goes wrong.
I have spent decades at the bench and I still occasionally have a solder joint that requires reconsideration. The difference is that I no longer see a failed joint as a mysterious betrayal. It left evidence.
Your job as the metalsmith is to learn how to read it.