

Solder Won't Flow: What Should You Check First?
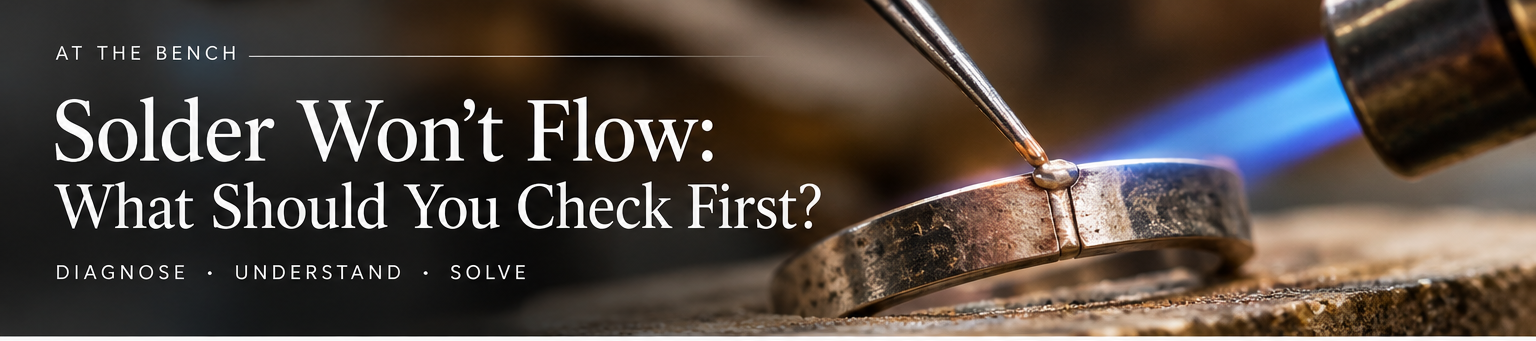
Few bench problems produce frustration quite as quickly as solder that refuses to flow.
You fitted the joint.
Added flux.
Placed the solder.
Started heating.
And then…nothing.
Or worse, the solder curls into a tiny silver ball and sits there while the rest of the piece gets hotter and hotter. The instinct is usually to add more heat.
Sometimes that works. But quite often, more heat is exactly what the situation does not need. Because "the solder won't flow" isn't really the problem.
It's the symptom.
The useful question is:
Why isn't the solder flowing?
Start With the Joint, Not the Torch
Before changing your flame, look closely at the joint.
Does it actually fit?
Not approximately.
Not if you squeeze it together.
Not except for that one tiny area.
A good solder joint depends on close contact between the surfaces being joined. Solder is NOT meant to fill a substantial gap like glue or caulk. It flows into a properly prepared joint through capillary action.
So before blaming the torch, ask:
Can I see light through the seam?
Does the joint spring apart?
Are both surfaces actually touching?
Did filing create a rounded edge where I needed a flat one?
Does the fit change when I place the piece on the soldering surface?
Sometimes ten seconds spent checking the seam can save several minutes of unnecessary heating.
Then Check Cleanliness
If the joint fits, consider contamination. Soldering requires clean metal. Oil from your hands, polishing compound, oxides, dirt, marker residue, or contamination left from an earlier process can interfere with solder flow.
This becomes especially important when you've already attempted the joint once. The piece may have looked clean before the first attempt. It isn't necessarily clean anymore.
After a failed soldering attempt, stop.
Pickle if appropriate.
Rinse.
Inspect.
Clean the joint mechanically if needed.
Reapply flux.
Then try again.
Repeatedly reheating the same contaminated surface usually doesn't improve it.
Watch the Flux
Flux is more than something you paint onto the joint because the instructions told you to. It gives you information. As the piece heats, the flux changes.
Learning to watch those changes helps you understand what is happening before the solder flows. If you continue heating long after the flux has exhausted its ability to protect the surface, oxidation can make successful soldering increasingly difficult.
This is one reason I want students to stop thinking only about the moment the solder melts. Pay attention to everything that happens before that moment.
The metal is giving you clues.
Is the Entire Joint Reaching Soldering Temperature?
This is where flame control becomes important. Solder follows heat. If the solder melts but the joint itself isn't hot enough, it may ball up rather than move through the seam.
The solution isn't necessarily a smaller, hotter flame pointed directly at the solder. Often, you need to think about how heat is moving through the entire assembly.
Where is the greatest mass?
Which section is absorbing heat?
Is one side considerably larger or heavier than the other?
Are you heating the solder rather than heating the metal that needs to receive it?
For uneven assemblies, you may need to spend more time bringing the heavier section toward temperature
before concentrating near the joint. You're trying to bring the joint into the correct temperature range—not simply melt a piece of solder sitting beside it.
Make Sure the Solder Can Reach the Joint
Placement matters too. I generally want solder positioned where heat and capillary action can draw it through the seam.
If the solder is sitting too far away, balanced on an oxidized surface, or placed somewhere the heat pattern pulls it away from the joint, the solder can melt beautifully and accomplish absolutely nothing.
When troubleshooting, look at what the solder actually did.
Did it:
remain exactly where you placed it?
ball up?
move away from the seam?
flow only on one side?
flow everywhere except through the joint?
Each result tells you something different. That is why simply saying "my solder didn't work" isn't enough information.
Check the Solder Itself
Occasionally, the problem is much simpler.
Are you using the solder you think you're using?
If you keep several grades on the bench, can you identify them confidently?
Has a scrap of sterling accidentally found its way into your solder pile?
Are you attempting to use a solder with a higher flow temperature than the one you used previously on the same assembly?
Good troubleshooting means checking the obvious possibilities too. Experienced metalsmiths are not immune to picking up the wrong piece of metal.
Change One Variable at a Time
This may be the most useful soldering habit you can develop. When a joint fails, resist the temptation to change everything.
Don't immediately:
use more flux, add more solder, increase the flame, reposition everything, file the seam, and try again.
If it works the second time, you won't know why.
Instead, diagnose.
What did I observe?
What is the most likely cause?
What can I change first?
Then watch what happens. That is how a frustrating solder joint becomes useful information.
Troubleshooting Is Part of Soldering
Successful soldering doesn't mean every joint works perfectly the first time. It means you develop the ability to understand why a joint behaved the way it did.
Joint fit.
Cleanliness.
Flux.
Heat distribution.
Solder placement.
Solder selection.
Those variables work together. Eventually, you stop seeing "solder won't flow" as one mysterious problem. You begin recognizing several different problems that happen to produce a similar symptom.
And once you can see the difference, soldering becomes much less about hoping the solder flows— and much more about knowing what to look at when it doesn't.